10 Best Stop-Motion Animation Procedure
To bring your stop-motion animation project to life, you'll need a comprehensive approach. Start by defining your project scope, goals, and objectives, then develop a detailed budget plan and timeline. Create a clear storyline and pacing, and outline a visual script plan, breaking down the script into individual shots and scenes. Ensure your set and character designs are scaled accurately and feasible to build and animate within production constraints. Calibrate your camera and choose the right lens and lighting settings to create the desired depth of field. Next, focus on capturing individual frames that contribute to the overall animation flow.
Key Takeaways
- Define project scope, goals, and objectives to guide the animation production process.
- Develop a visual script plan, breaking down the script into individual shots and scenes.
- Ensure set design is scaled accurately, considering miniature scaling and durability.
- Use layered lighting and configure camera settings to create depth and dimension in the scene.
- Review and adjust captured frames to achieve desired results and smooth animation flow.
Planning the Animation Project
What's the first step in creating a captivating stop-motion animation project? You'll want to start by defining your project's scope, goals, and objectives.
This involves identifying key stakeholders, target audience, and desired outcomes. Next, establish a realistic project timeline, breaking down major milestones into manageable tasks with specific deadlines.
Allocate sufficient time for pre-production, production, and post-production phases.
Create a detailed budget plan, considering costs for personnel, equipment, software, and location rentals.
You'll need to factor in expenses for armatures, puppets, and set materials, as well as potential licensing fees for music or sound effects. Identify areas where you can optimize costs and allocate resources efficiently.
Develop a contingency plan to address potential risks and setbacks.
Identify alternative solutions for unexpected problems and establish a clear communication channel with your team. By carefully planning your project timeline and budget, you'll set yourself up for success and ensure a smooth production process.
This will enable you to focus on the creative aspects of your stop-motion animation project.
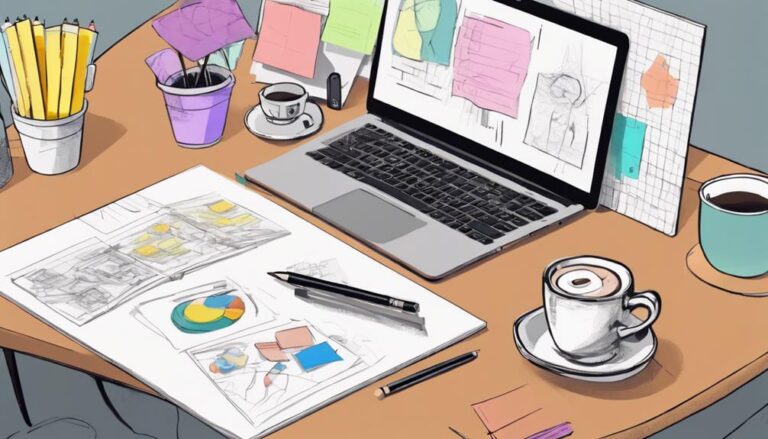
Script Development and Storyboard
You'll begin script development by outlining a clear storyline and pacing for your stop-motion animation project, including the narrative arc, character development, and key plot points.
Next, you'll create a visual script plan, breaking down the script into individual shots and scenes, and determining the visual elements that will bring your story to life.
This process will help you identify any potential production challenges and ensure that your story flows smoothly from one scene to the next.
Storyline and Pacing
While developing your stop-motion animation, establishing a solid storyline and pacing is crucial to captivating your audience.
A well-structured narrative will keep viewers engaged, while poor pacing can lead to a loss of interest.
To create a compelling storyline, focus on plot progression and scene transition. These elements work together to build tension, create suspense, and drive the story forward.
When crafting your narrative, consider the following key points:
- Develop a clear three-act structure, including setup, confrontation, and resolution.
- Use plot twists and turns to keep the audience guessing and invested in the story.
- Balance action, dialogue, and quiet moments to maintain a consistent pace.
- Ensure scene transitions are smooth and logical, using techniques like cross-fading or match cutting.
- Use pacing to build tension and create dramatic moments, such as slowing down or speeding up the action.
Visual Script Planning
Visual Script Planning
To effectively translate your storyline into a visual representation, you'll need to develop a detailed script and storyboard. This stage involves refining your narrative into a series of visual elements, laying the groundwork for the animation process. A well-planned script and storyboard ensure a cohesive visual storytelling experience.
Script Development | Storyboard
——————-|————-
Define scene sequence | Sketch key frames
Establish character arcs | Annotate camera angles
Refine dialogue and pacing | Block out set designs
Plan special effects | Indicate lighting cues
Make script revisions | Update storyboard accordingly
When developing your script, consider pacing, character development, and dialogue. A clear, concise script will help guide your storyboard and ensure a smooth animation process. Script revisions are an essential part of this process, as they allow you to refine your narrative and make necessary changes before moving forward. By combining a well-planned script with a detailed storyboard, you'll be able to effectively communicate your visual storytelling vision to your team and bring your stop-motion animation to life.
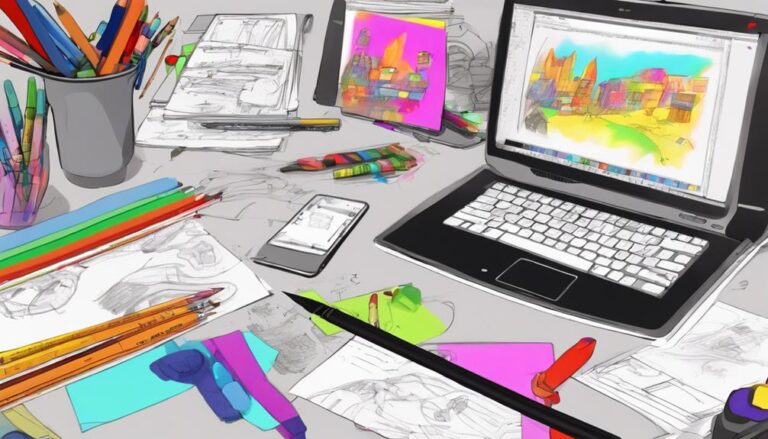
Character and Set Design
Designing the characters and sets is a critical stage in the stop-motion animation process.
During this stage, you'll develop the visual representation of your story's characters and environments. It's essential to create a cohesive look that aligns with your narrative and tone.
Start by crafting character profiles, which should include descriptions of their physical appearance, personality traits, and any notable characteristics.
This information will help guide your design decisions and ensure consistency throughout the production. For set design, consider the overall aesthetics you want to achieve, such as color palette, texture, and atmosphere.
Key design considerations include:
- Developing a consistent visual language for your characters and sets
- Creating detailed concept art and 3D models to visualize your designs
- Choosing materials and textures that fit your desired aesthetic
- Considering the scale and proportion of your characters and sets
- Ensuring that your designs are feasible to build and animate within your production constraints
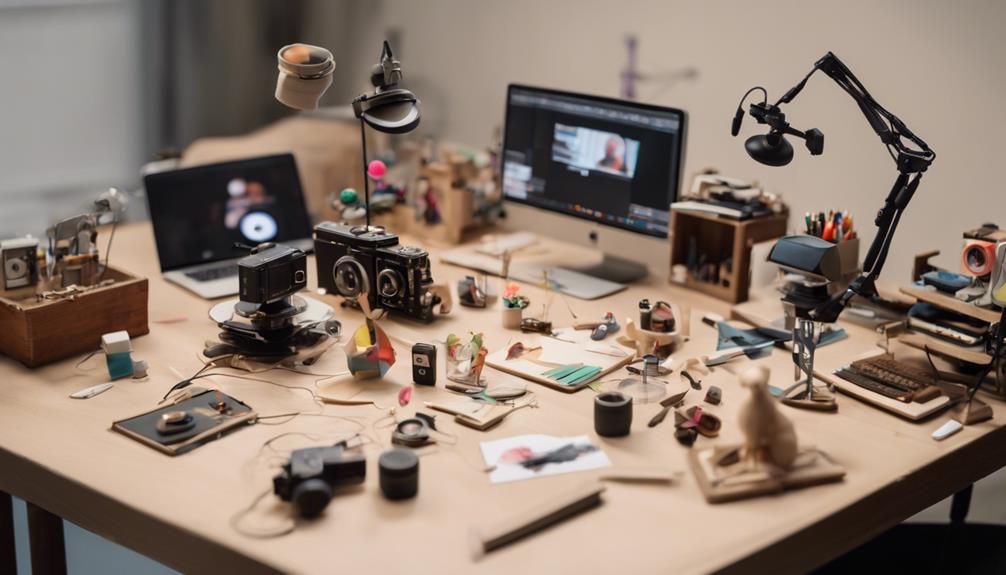
Building the Animation Set
Now that you've established the visual foundation of your story through character and set design, it's time to bring those concepts to life by building the animation set.
This stage involves set construction, where you'll translate your designs into three-dimensional spaces. To start, ensure that your set design is scaled accurately, considering the miniature scaling required for your stop-motion animation.
Determine the optimal scale for your characters and set, ensuring that they're proportional and easily manageable.
When constructing your set, choose materials that are durable and can withstand repeated handling. You may use a combination of materials, such as wood, foam board, or fabric, depending on the specific requirements of your set.
Consider the lighting and camera angles you'll use when building your set, leaving enough space for camera movement and lighting placement.
As you build your set, pay attention to details, such as texture and color.
Add props and set dressing to enhance the visual appeal of your set and create a believable environment for your characters.
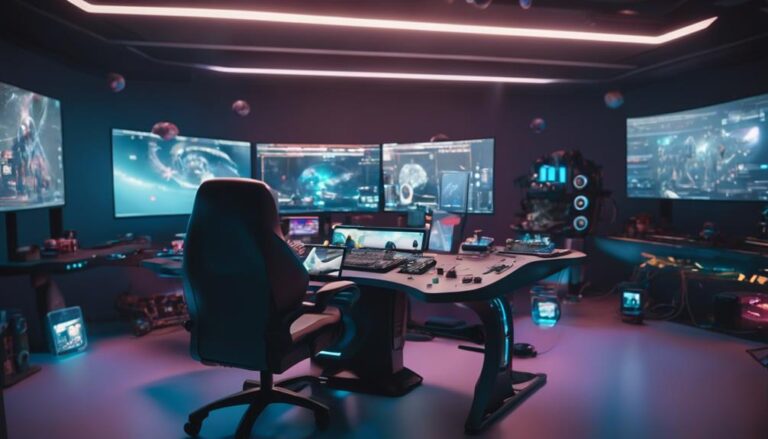
Preparing the Camera Equipment
Preparing the Camera Equipment
Building a stop-motion animation setup requires precise camera control, and preparing the camera equipment is a crucial step.
You'll need to carefully select and configure your camera gear to ensure high-quality images and a smooth animation process.
To prepare your camera equipment, consider the following key factors:
* Camera calibration: Calibrate your camera to ensure accurate color and exposure settings.
This will help you achieve consistent results throughout your animation.
* Lens selection: Choose a lens that suits your animation style and provides the desired depth of field.
Consider factors like focal length, aperture, and optical quality.
* Camera mounting: Use a sturdy tripod or camera mount to prevent camera shake and movement.
This is essential for maintaining precise control over your camera position.
- Focus control: Ensure that your camera's autofocus system is disabled, and use manual focus control to set the focus precisely.
- Camera settings: Configure your camera settings, including ISO, shutter speed, and white balance, to optimize image quality and consistency.
Capturing the Animation Frames
Capturing the Animation Frames
You're ready to start capturing the individual frames that will bring your stop-motion animation to life. This process requires attention to detail, as each frame will contribute to the overall flow of your animation.
To begin, set up your camera equipment according to the specifications outlined in the previous section. Ensure your camera angles are set to capture the desired shot. Consider using a variety of angles to add depth to your animation.
| Frame Capture | Camera Angle |
|---|---|
| Wide Shot | Establish the scene, capture the entire set |
| Medium Shot | Focus on the characters, capture their interactions |
| Close-up Shot | Emphasize emotions, capture facial expressions |
| Low Angle Shot | Create a sense of power, capture from below |
When capturing each frame, make slight adjustments to the scene, such as moving a character's arm or leg. Use your camera's frame capture feature to take a photo of the current scene. Repeat this process, taking a new photo after each adjustment. The number of frames you capture will depend on the desired length and frame rate of your animation.
Creating Special Effects Techniques
When creating special effects in your stop-motion animation, you'll use various techniques to enhance the visual experience.
To achieve particle explosion effects, you'll typically use a combination of materials like glitter, foam, or fabric, and manipulate them frame-by-frame to create the desired explosion pattern.
You'll also experiment with dynamic lighting techniques, adjusting the placement and intensity of light sources to create dramatic effects and emphasize key elements in your scene.
Particle Explosion Effects
As you delve into creating particle explosion effects in stop-motion animation, you'll find that achieving realistic and captivating visuals requires meticulous planning and attention to detail.
To achieve this, you'll need to consider the following key elements:
* Particle simulation: Create realistic particle simulations by using software that can generate and control particle movements, such as Houdini or Maya.
This will help you achieve a more organic and dynamic explosion effect.
* Explosive textures: Use high-resolution textures to create detailed and realistic explosive elements, such as fire, smoke, and debris.
These textures can be created using a combination of photography, 3D modeling, and texture painting.
* Particle variation: Vary the size, shape, and color of particles to create a more realistic and dynamic explosion effect.
This can be achieved by creating multiple particle simulations and combining them.
* Timing and spacing: Control the timing and spacing of particles to create a sense of chaos and unpredictability.
This can be achieved by adjusting the particle simulation settings and animating the particles by hand.
* Integration with the scene: Integrate the particle explosion effect seamlessly with the rest of the scene by matching the lighting, color, and texture of the surrounding environment.
Dynamic Lighting Techniques
How can you harness the power of dynamic lighting to elevate your stop-motion animation and create captivating special effects? One way to achieve this is by using shutter control to control the amount of light that enters the camera. This technique allows you to create a sense of movement and energy in your animation.
Another technique is light mapping, which involves creating a 2D representation of your scene's lighting. This helps you plan and visualize the lighting in your scene before you start animating.
Here's a comparison of different dynamic lighting techniques:
| Technique | Description |
|---|---|
| Shutter Control | Control the amount of light that enters the camera to create a sense of movement and energy. |
| Light Mapping | Create a 2D representation of your scene's lighting to plan and visualize the lighting in your scene. |
| Layered Lighting | Use multiple light sources to create depth and dimension in your scene. |
Lighting for Stop-Motion Scenes
Proper lighting is crucial in stop-motion scenes, significantly impacting the overall visual aesthetic and mood.
When setting up lighting for your stop-motion scenes, you'll want to consider the type of lights, their placement, and their intensity.
Softbox diffusion is a great option for creating soft, even lighting that minimizes harsh shadows.
To achieve the desired lighting effect, consider the following:
- Use softbox lights with diffusion filters to create a soft, even light source.
- Experiment with lighting ratios to create depth and dimension in your scene. A common ratio is 2:1 or 3:1, where the key light is 2-3 times brighter than the fill light.
- Position your lights to create a clear distinction between light and dark areas, guiding the viewer's eye through the scene.
- Avoid overlighting, as this can create an unnatural, flat look.
- Consider using practical lights, such as table lamps or string lights, to add depth and interest to your scene.
Post-Production Editing Process
In the post-production phase of your stop-motion project, you'll dive into editing, refining the pacing, and fine-tuning the visuals.
This phase involves importing and organizing your captured footage, as well as any additional media like audio tracks or visual effects.
You'll set up your edit room workflow, establishing a consistent naming convention and storage system for all project files.
To begin editing, you'll import your stop-motion footage into a video editing software, such as Adobe Premiere or Avid Media Composer.
You'll then sync the audio tracks with the corresponding video clips, ensuring precise audio syncing to maintain the illusion of fluid motion.
This process is crucial for creating a believable stop-motion animation.
As you assemble your edit, you'll refine the pacing by adjusting the timing of each shot and sequence.
You'll also fine-tune the visuals, making adjustments to color correction, brightness, and contrast to achieve a consistent look throughout the animation.
Final Rendering and Output
Once you've finalized your edit, you'll proceed to the final rendering and output phase, where your stop-motion project takes its final form.
This stage is crucial as it determines the overall quality of your final output.
Before exporting, perform final checks on your project.
Verify that the frame rate, resolution, and color settings are correct.
Ensure that the audio is synced properly and the video playback is smooth.
Review your edit one last time to catch any errors or inconsistencies.
Now, consider the output options for your stop-motion project:
- Resolution and frame rate: Choose the desired resolution and frame rate, such as 1080p at 24fps or 4K at 30fps.
- File format: Select the file format that suits your needs, such as MP4, MOV, or AVI.
- Color grading: Apply a color grade to enhance the visual aesthetic of your project.
- Audio settings: Configure the audio settings, including the codec, bitrate, and sample rate.
- Output destination: Specify the output destination, such as a local drive, network location, or cloud storage service.
Frequently Asked Questions
What Software Is Best for Stop-Motion Animation Beginners?
You'll find several software options for stop-motion animation. For beginners, consider Dragonframe, MonkeyJam, or Adobe Animate. These programs offer accessible software tutorials and an intuitive animation workflow to help you get started and improve your skills.
Can Stop-Motion Be Done With a Smartphone Camera?
You can create stop-motion using a smartphone camera, but it requires camera stability. Utilize a tripod or rig to minimize motion, and consider apps that facilitate mobile filmmaking, such as FrameForge or Stop Motion Studio.
How Do I Avoid Flicker in Stop-Motion Lighting?
To minimize flicker, you're conducting thorough lighting tests. You adjust frame rates, dimmer switches, or use LED lights for flicker reduction, ensuring consistent illumination and capturing the desired visual effect.
What Frame Rate Is Ideal for Stop-Motion Animation?
You'll want a frame rate of 24fps or higher for smooth motion, minimizing motion blur. For optimal frame optimization, consider 30fps or 60fps for more fluid movements and reduced flicker, especially in fast-paced scenes.
Can I Use 3D Printing for Stop-Motion Characters?
You can leverage 3D printing for stop-motion characters by designing and optimizing them through 3D Character Design software, then producing Printed Puppets with precise details and articulation, allowing for realistic movements and poses.
Conclusion
You'll finalize your stop-motion animation project by exporting it in the desired format. Ensure your final render is in the correct resolution and frame rate for your intended platform. Verify that all audio elements, including sound effects and music, are properly synced and mixed. Export your project in the required file format, such as ProRes or H.264, and review it one last time before considering it complete and ready for distribution.