7 Animation Production Process And Methods
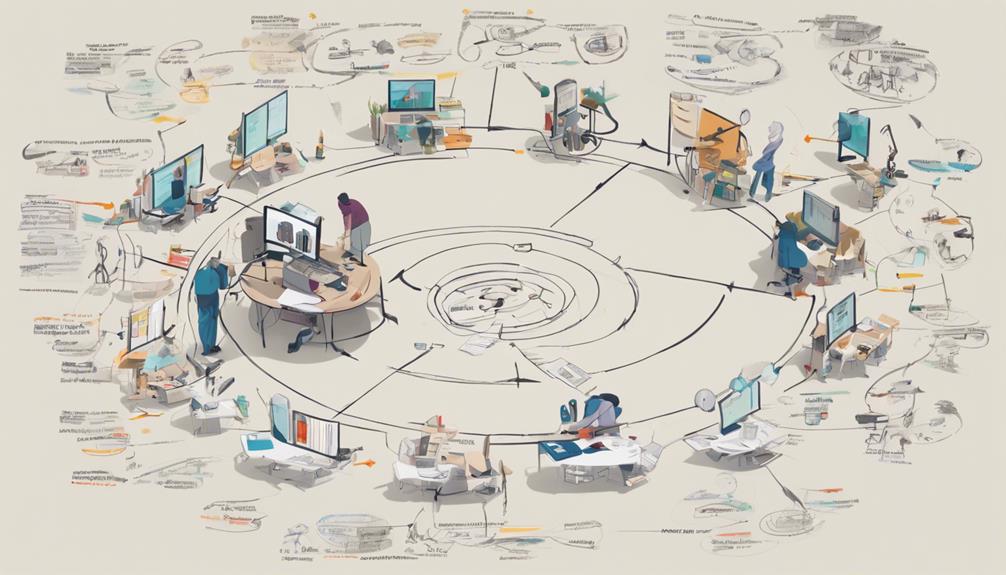
When creating an animated production, you'll navigate seven key processes that bring your vision to life. You'll start by developing the concept through idea refinement, research, and brainstorming, then move on to scriptwriting and storyboarding to create a compelling narrative. Character and design development will help you craft engaging characters and environments. Next, you'll record voice performances and design sound effects to enhance the visual elements. Keyframe animation production, visual effects, and compositing will bring your project to life. Finally, you'll refine the edit and color grade, preparing the project for delivery, and that's when the final touches will really start to make your vision shine.
Key Takeaways
- The animation production process involves three main stages: pre-production, production, and post-production.
- Pre-production includes refining concepts, writing scripts, creating storyboards, and designing visual elements.
- Production involves recording voice actors, creating keyframe animation, and integrating visual elements.
- Post-production entails refining the animated sequence, adjusting sound design and visual effects, and color grading.
- Throughout the process, it's essential to review and refine each stage to ensure a polished and cohesive final product.
Developing the Concept
Developing the concept is where your animation project gets off the ground.
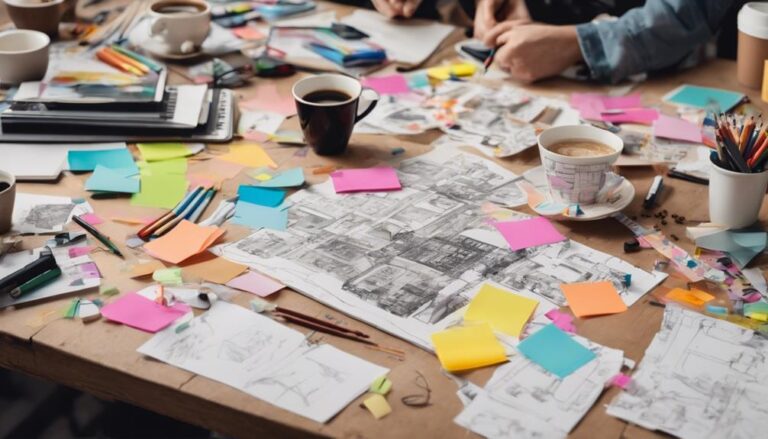
At this stage, you'll refine your idea through concept refinement and idea brainstorming. Start by gathering references and research to solidify your concept. This involves collecting images, reading relevant texts, and analyzing similar projects to understand what works and what doesn't.
Next, conduct idea brainstorming sessions to freely explore and expand on your concept.
Write down every idea, no matter how absurd or impractical it may seem. This process helps you generate a wide range of possibilities and identify potential problems.
Organize your ideas into categories, such as characters, settings, and plot points, to create a clear visual representation of your concept.
Concept refinement involves narrowing down your ideas and selecting the most promising elements.
Evaluate each component based on its relevance, originality, and potential for visual storytelling.
Identify any inconsistencies or gaps in your concept and make necessary adjustments.
Scriptwriting and Storyboarding
With a solid concept in place, you're ready to start building the narrative structure of your animation project.
This is where scriptwriting comes in – a crucial step in developing your story. You'll need to write a compelling script that captures your audience's attention and conveys the message you want to convey.
This involves creating well-rounded characters, crafting engaging dialogue, and establishing a clear story arc.
As you write your script, consider the story pacing – the speed at which your narrative unfolds. A well-balanced story pace keeps your audience engaged and invested in the story.
It's essential to strike a balance between action, drama, and quiet moments to create a cohesive narrative.
Script rewrites are a normal part of the scriptwriting process. Don't be afraid to make changes to your script to ensure it's the best it can be.
Once you're satisfied with your script, you can move on to the storyboarding phase. This involves creating a visual representation of your script, breaking down each scene into individual shots and camera angles.
A well-crafted storyboard helps you plan and visualize your animation, ensuring a smooth production process.
Character and Design Development
Next, you'll begin designing the visual elements of your characters, including their costumes, props, and environments.
This process involves creating concept art, model sheets, and turnarounds to ensure consistency. Design iteration is key, as you'll refine your designs based on feedback and revisions.
You'll also develop a color script to establish the overall color palette and visual tone of your animation.
Throughout this process, consider your animation style, target audience, and the story's themes. Ensure that your designs align with the script and storyboard.
As you finalize your character and design development, you'll have a solid foundation for the next stages of production.
Voice Recording and Sound Design
As you transition from character and design development to the next phase of animation production, you'll focus on capturing the perfect voice performances and crafting a rich sonic landscape.
You'll start by recording voice actors, directing them to deliver nuanced, engaging performances that bring your characters to life.
Simultaneously, you'll begin designing sound effects that enhance the visual elements, creating an immersive audio experience that complements your animation.
Recording Voice Actors
Several key elements come together during the voice recording process, but none are more critical than capturing high-quality voice performances from your actors.
To achieve this, you'll need to provide clear voice direction that guides your actors in delivering the desired tone, pace, and emotion. This direction should be informed by your animation's script, storyboard, and character designs.
When it comes to recording voice actors, you'll typically work in a professional recording studio equipped with high-quality microphones, preamps, and acoustic treatment.
These studios are designed to minimize echo, reverberation, and background noise, ensuring that your recordings are crisp and clean. In the studio, your voice director will work closely with the voice actors, providing guidance and feedback to ensure that their performances meet your project's needs.
To get the best out of your voice actors, it's essential to create a comfortable and supportive recording environment.
This includes using high-quality headphones, setting up a comfortable recording space, and providing clear communication about the project's vision and goals. By investing time and effort into the voice recording process, you'll be able to capture high-quality voice performances that bring your animation to life.
Designing Sound Effects
When designing sound effects, you'll need to pay attention to audio nuances such as pitch, tone, and volume.
These details can greatly impact the overall mood and atmosphere of a scene. For example, a low-pitched rumble can create a sense of tension, while a high-pitched squeak can add comedic relief.
To create these sound effects, you can use a combination of field recordings, Foley techniques, and audio software.
You can also source sound effects from libraries or create them from scratch using synthesis and manipulation techniques. Regardless of the method, the goal is to create sound effects that are believable, engaging, and enhance the overall animation.
Keyframe Animation Production
| Keyframe Stage | Description |
|---|---|
| Blocking | Set initial keyframes to establish overall pose and movement. |
| Refining | Add secondary keyframes to refine movement, paying attention to timing and spacing. |
| Polishing | Fine-tune keyframes to add subtle nuances and details to the animation. |
| Finalizing | Review and finalize keyframes, making any last-minute adjustments to ensure smooth motion. |
As you work through the keyframe evolution, you'll iterate and refine your animation, applying animation principles to create a cohesive and engaging final product. Throughout this process, it's essential to keep your animation's overall goals and style in mind to ensure consistency and quality.
Visual Effects and Compositing
After refining your animation through keyframe evolution, you're now ready to enhance its visual appeal by incorporating visual effects and compositing.
This stage involves integrating visual elements from various sources into a cohesive whole, elevating the overall aesthetic of your animation.
You'll start by creating 3D models or simulations that complement your keyframe animation. This may include adding environments, props, or special effects like fire, water, or smoke.
These elements can be created using specialized software or tools designed for 3D modeling.
To further enhance your animation, consider the following techniques:
- Add depth and dimensionality with atmospheric effects like fog, mist, or haze.
- Use particle systems to create realistic simulations of natural phenomena like explosions or waterfalls.
- Experiment with different render styles or techniques to achieve a unique visual identity for your animation.
During compositing, you'll layer and arrange these visual elements to create a balanced composition.
Color grading is also crucial at this stage, as it helps establish the mood and tone of your animation.
Final Editing and Delivery
Through the final editing process, you'll refine your animated sequence into a polished, cohesive product.
This stage involves fine-tuning the pacing, sound design, and visual elements to create a seamless viewing experience.
Using video editing software like Final Cut Pro, you'll assemble the final cut, ensuring that all scenes flow smoothly and the narrative is coherent.
During this stage, you'll also focus on Color Grading, which involves enhancing the color palette to evoke a specific mood or atmosphere.
This process requires a deep understanding of color theory and the emotional impact of different hues on the viewer.
By applying a consistent color grade throughout the sequence, you'll create a visually stunning and immersive experience.
Once you've finalized the edit and color grade, you'll prepare your project for delivery.
This involves exporting the final file in the required format, whether it's for web, TV, or cinema.
You'll also ensure that all audio and visual elements meet the necessary technical specifications, guaranteeing a high-quality viewing experience for your audience.
Frequently Asked Questions
Can Animation Be Used for Educational Content Creation?
You can utilize animation to create engaging educational content, developing interactive tutorials and educational visuals that enhance learning experiences, increase student engagement, and simplify complex concepts, making information more accessible and easier to understand.
How to Protect Animation Work With Copyrights?
To safeguard your creative work, you'll register it under Intellectual Property laws. Familiarize yourself with the Legal Framework surrounding copyrights, then file for protection through the U.S. Copyright Office or equivalent agency in your country.
What Software Is Used for Animation Rendering?
You'll rely on animation tools and rendering engines to bring your work to life. Popular options include V-Ray, Arnold, and OctaneRender for realistic visuals, while Blender's Cycles and Maya's Mental Ray offer robust rendering capabilities.
Can Animation Be Produced Without a Large Team?
You can produce high-quality content solo, leveraging skills as a solo creator or collaborating with freelance artists to outsource tasks, making it possible to create animations without a large team, albeit with more workload and responsibility.
How to Distribute Animation Content Online Securely?
To distribute content online securely, you'll use content encryption and digital watermarking. Encrypt files to prevent unauthorized access, and embed watermarks to track and identify leaked copies, ensuring your online content remains protected and traceable.
Conclusion
You've successfully navigated the 7 key stages of the animation production process. From concept development to final delivery, each step has built upon the last, culminating in a polished animated piece. You've developed a concept, scripted and storyboarded your narrative, designed characters and environments, recorded voice tracks and designed sound, produced keyframe animations, incorporated visual effects and compositing, and finalized your edit. Your project is now complete and ready for distribution.

