Visual Development Process for Animation Series Explained
As you embark on an animation series, a well-crafted visual development process transforms your concept into a captivating narrative. You start by grasping the project brief, which outlines the vision, goals, and key themes. Next, you develop compelling characters through facial expressions, body language, and textures, and design richly detailed environments that evoke emotional resonance. Establishing a distinct color palette sets the tone, while refining composition techniques and storyboarding bring your vision to life. With each step, your world takes shape, and by finalizing your visual aesthetic, you'll be poised to create a truly immersive experience – one that's just beginning to unfold.
Key Takeaways
- Understanding the project brief is crucial for defining the animation series' vision, goals, and objectives.
- Character development involves creating nuanced and expressive characters through facial expressions, body language, and design evolution.
- World-building requires richly detailed environment concepts that bring the story to life and evoke emotional resonance.
- Establishing a color palette sets the tone for the entire animation, influencing the viewer's emotional response and mood.
- Storyboarding and color scripting involve refining the narrative, creating a visual roadmap, and experimenting with color palettes to find the perfect balance.
Understanding the Project Brief
Receiving a project brief is the starting point for any animation project. It's where you learn about the project's vision, goals, and objectives.
As you dive into the brief, you'll discover the project's core concept, target audience, and key themes. You'll also get a sense of the project's tone, style, and overall aesthetic. This is your chance to grasp the project's scope and understand what's expected of you.
The project brief outlines the project expectations, including the desired outcome, timeline, and budget.
It's essential to carefully review the brief to avoid misinterpretation. As you read through the brief, consider your creative freedom and how you can bring your unique perspective to the project.
Think about how you can use your skills and expertise to elevate the project and make it your own. By doing so, you'll be able to deliver a high-quality animation that meets the project's expectations while also showcasing your artistic vision.
Understanding the project brief is crucial in setting the stage for a successful animation project.
Developing Character Designs
Character design involves more than just creating visually appealing characters.
It's about capturing their essence and bringing them to life.
Consider the following key aspects when developing your character designs:
- *Facial expressions and body language* convey character nuances and emotions.
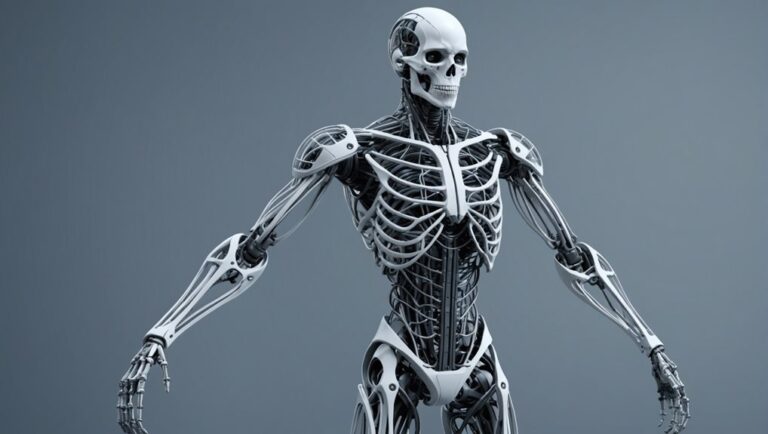
- *Proportion and anatomy* play a crucial role in defining a character's physicality and movement.
- *Color palette and textures* help establish a character's personality and style.
- *Accessories and clothing* can reveal a character's background, interests, and traits.
- *Design evolution* ensures that your characters grow and change throughout the story, reflecting their development and experiences.
Creating Environment Concepts
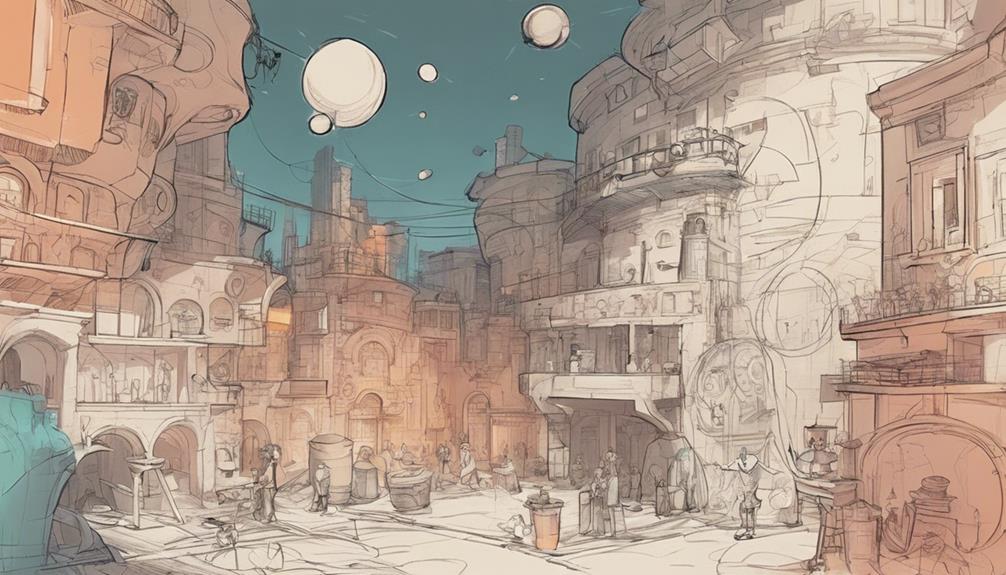
As you delve into the world of animation, the environments your characters inhabit play a crucial role in shaping the narrative and immersing the audience.
Creating environment concepts that are rich in detail and visually striking can make all the difference in bringing your story to life. Start by brainstorming ideas that fit your story's environmental themes, considering the mood, tone, and overall aesthetic you want to convey.
Look to architectural inspiration from real-world locations, historical periods, or even fantasy worlds to spark your creativity.
Imagine how different structural elements, such as buildings, landscapes, or cityscapes, can influence the way your characters interact and navigate their surroundings.
As you sketch out your environment concepts, think about the emotional resonance you want each setting to evoke.
Consider the colors, textures, and lighting that will help create an immersive atmosphere.
Your goal is to craft environments that feel authentic, yet fantastical – places that draw the audience in and refuse to let go.
Designing Props and Assets
As you transition from designing environments to crafting the objects that inhabit them, you'll need to develop a keen eye for prop and asset design that not only complements your world but also tells its story.
This involves researching and developing a rich understanding of the assets your characters will interact with, as well as creating functional designs that bring these objects to life.
Asset Research and Development
Every frame of an animated sequence relies on meticulously crafted props and assets that transport viewers to new worlds and evoke emotions.
As you delve into the world of asset research and development, you'll discover the importance of creating a rich and immersive environment that draws audiences in.
This process involves conducting thorough asset analysis to understand the story, characters, and setting, and how each prop and asset contributes to the overall narrative.
When researching and developing assets, consider the following key elements:
- Study reference images and real-world examples to gain inspiration and authenticity
- Analyze the script and storyboard to identify essential props and assets
- Develop a visual bible that outlines the design language and style guidelines for each asset
- Collaborate with the design team to ensure consistency and cohesion across all assets
- Continuously iterate and refine your designs based on feedback and testing
Creating Functional Designs
Your asset research and development are now laid out, providing a foundation for the next stage of the visual development process.
With a solid understanding of the series' visual identity, you're ready to start designing props and assets that not only look great but also serve a purpose in the story. This is where creating functional designs comes in – the process of crafting props, environments, and characters that are both aesthetically pleasing and functional.
When designing assets, it's essential to keep Design Principles in mind. This means considering factors like balance, proportion, and harmony to ensure your designs are visually appealing.
However, functional designs also require a deeper understanding of how the asset will be used in the story. Will it be used for a specific action or as a plot device? How will it interact with the environment and characters?
Establishing Color Palette
Within the realm of visual development, establishing a color palette is a pivotal step that sets the tone for the entire animation.
As you delve into this process, you'll begin to realize the immense impact of color on the viewer's emotional response. A well-crafted color palette can evoke emotions, convey themes, and even influence the pacing of your animation.
When creating your color palette, consider the concept of color harmony. This refers to the way colors work together to create a visually appealing effect.
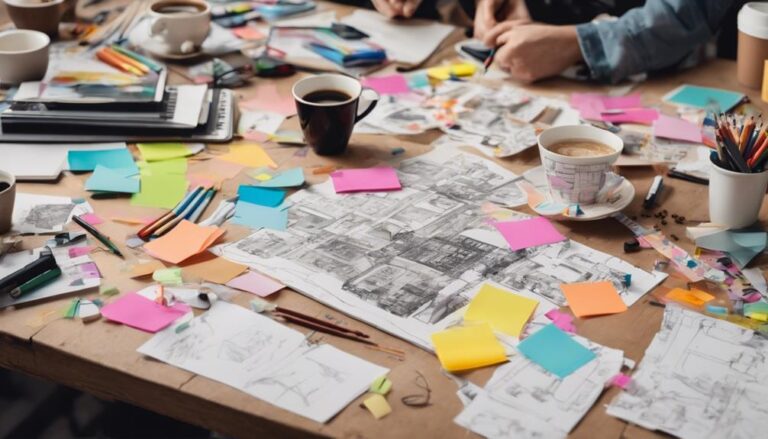
To achieve color harmony, you can use mood boards to experiment with different color combinations. A mood board is a visual representation of your color palette, often featuring images, textures, and patterns that evoke the desired mood.
Some key considerations when building your color palette include:
- Limiting your palette to a core group of colors to maintain consistency
- Using the 60-30-10 rule to balance dominant, secondary, and accent colors
- Experimenting with different shades, tints, and tones to add depth
- Considering the emotional connotations associated with each color
- Creating a color script to guide the use of color throughout your animation
Refining Visual Storytelling
As you refine your visual storytelling, you're now tasked with bringing your ideas to life through a combination of narrative structure and visual elements.
You'll start by developing a storyboard that sequences your scenes, sets pacing, and establishes key character poses.
Storyboard Development
During the storyboard development phase, you'll further refine your visual storytelling by transforming rough ideas into a cohesive, shot-by-shot narrative.
This is where the storyboard evolution truly begins, as you experiment with different panel layouts and pacing to find the perfect rhythm for your story.
You'll break down the script into individual beats, and then visualize each beat as a series of panels.
These panels will serve as a blueprint for the animators, directors, and other stakeholders to follow.
When developing your storyboard, consider the following key elements:
- Establish a clear visual flow, guiding the viewer's eye through each scene
- Use varying panel sizes and shapes to control pacing and emphasize key moments
- Keep camera angles and movements consistent, unless intentionally deviating for dramatic effect
- Ensure each panel contributes to the overall narrative, avoiding unnecessary or redundant shots
- Leave room for improvisation and flexibility, allowing the animation team to bring their own creative ideas to the table
As you refine your storyboard, you'll see your visual storytelling come together in a compelling and cohesive way, setting the stage for the next phase of production.
Color Scripting Process
Your color script is a visual roadmap that harmonizes the emotional tone and aesthetic of each scene, building upon the foundation laid by your storyboard.
It's where you assign colors to each scene, determining how they interact and contribute to the overall mood of your animation. Color harmony is key, so you'll experiment with different palettes to find the perfect balance of warm and cool tones, brights and darks.
To get started, create mood boards for each sequence or scene. These visual collages will help you distill the essence of your story into a specific color language.
Gather reference images, fabrics, and textures that evoke the desired mood and atmosphere. Then, extract the dominant colors and begin to build your color script.
Consider how colors will transition from one scene to another, creating a cohesive visual flow. Your color script will also inform the lighting design, helping to create a believable and immersive world.
Composition Techniques
With a color script in hand, you're now ready to refine your visual storytelling through composition techniques.
Composition is the backbone of visual storytelling, and it's what guides the viewer's eye through the scene.
When done correctly, composition can elevate the emotional impact of a scene and draw the viewer in.
To create effective compositions, consider the following principles:
- Symmetry principles: Use symmetry to create a sense of balance and order, or break it to create tension and unease.
- Framing: Use elements in the scene to frame the subject and draw attention to it.
- Leading lines: Use lines to lead the viewer's eye to the subject or to create a sense of movement.
- Visual flow: Use the placement of elements to guide the viewer's eye through the scene and create a sense of flow.
- Negative space: Use empty space to create a sense of simplicity and focus the viewer's attention.
Finalizing Concept Art
As the concept art evolves into a cohesive vision, you're refining the aesthetics and pinpointing the essence of your animation's world.
This stage is critical in solidifying the artistic vision that will drive the project forward. You're no longer just exploring ideas; you're distilling the core elements that make your world unique.
Your concept evolution is taking shape, and it's essential to finalize the key art pieces that will set the tone for the entire series.
This includes defining the color palette, character designs, and environments. You're establishing a visual language that will be used throughout the production process.
As you finalize the concept art, you're making deliberate decisions about the style, tone, and overall aesthetic of your animation.
You're considering how each element will contribute to the narrative and the emotional resonance of the story. By refining your artistic vision, you're creating a cohesive foundation that will guide the visual development process and ensure a polished, engaging final product.
Implementing Visual Style Guides
Taking the reins of your animation's visual identity, you're now poised to distill the essence of your concept art into actionable style guides.
This critical step ensures visual consistency across all episodes, characters, and environments.
By creating a comprehensive style guide, you establish a shared language for your team, ensuring that everyone is on the same page.
A well-crafted style guide addresses various aspects of your animation's visual identity.
Consider the following key elements to include:
- Color palettes: Define the core colors, their hex codes, and usage guidelines.
- Typography: Specify fonts, font sizes, and line spacing for titles, dialogue, and other text elements.
- Character designs: Provide detailed illustrations of characters from various angles, highlighting their proportions and distinctive features.
- Environment art: Document the visual style for different environments, including textures, lighting, and atmospheric effects.
- Special effects: Outline the visual approach for magical effects, explosions, or other dynamic elements.
Frequently Asked Questions
What Software Is Used for Visual Development in Animation?
You'll find that animation studios rely on digital drawing and painting software like Adobe Photoshop, Sketchbook Pro, and Corel Painter to create stunning visuals, with some also using 3D modeling tools like Blender and Maya.
How Do Animators Ensure Consistency in Character Designs?
You ensure consistency in character designs by tracking their Design Evolution and creating detailed Style Guides, outlining key features, poses, and expressions to maintain a cohesive look throughout the series and across various artists.
Can 3D Models Be Used for Environment Concepts?
When creating environment concepts, you can use 3D models, but be aware of model limitations. To achieve realistic textures, you'll need to complement models with hand-painted details, blending technology and artistry to bring your world to life.
What Is the Role of a Visual Development Artist?
You bring a project to life as a visual development artist, balancing Style Guides with creative freedom to craft unique worlds, while considering the story's emotional core, and experimenting with innovative visuals that captivate audiences.
How Long Does the Visual Development Process Typically Take?
When planning a project, you'll likely wonder how long the development process takes. With time constraints and production schedules in mind, this process typically lasts several weeks to a few months, depending on the project's complexity.
Conclusion
You've navigated the visual development process for an animation series, transforming a project brief into a richly detailed world. Character designs now leap off the page, environments transport you to new realms, and props and assets bring depth to each scene. A vibrant color palette and refined visual storytelling weave it all together, as final concept art and style guides bring the entire vision to life, ready to captivate audiences and leave a lasting impression.


